Using Spring Boot with Visual Studio Code
If you have not yet tried Visual Studio Code, I highly recommend that you do. This lightweight editor created by Microsoft is quickly becoming the default editor for many languages, including Python and Typescript.
This post will show you how it can also be used to write Spring Boot applications. It is inspired by my other post on Using Spring Boot with IntelliJ Community Edition
This tutorial assumes that you already have the following installed:
- JDK
- Visual Studio Code
- JAVA_HOME environment variable is set to your JDK location
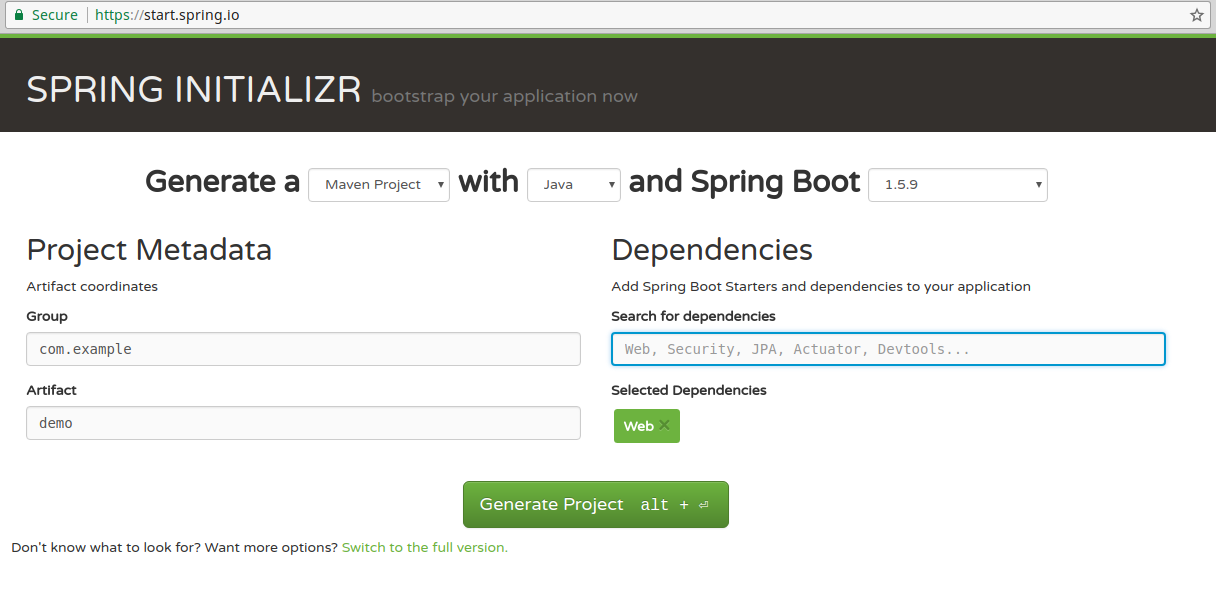
1. Create Project Using Spring Initializr
Go to http://start.spring.io/ and create the Spring Boot project with the desired dependencies. Click on Generate Project to generate a zip project file. Unzip the contents of the generated project to a location of your choice.

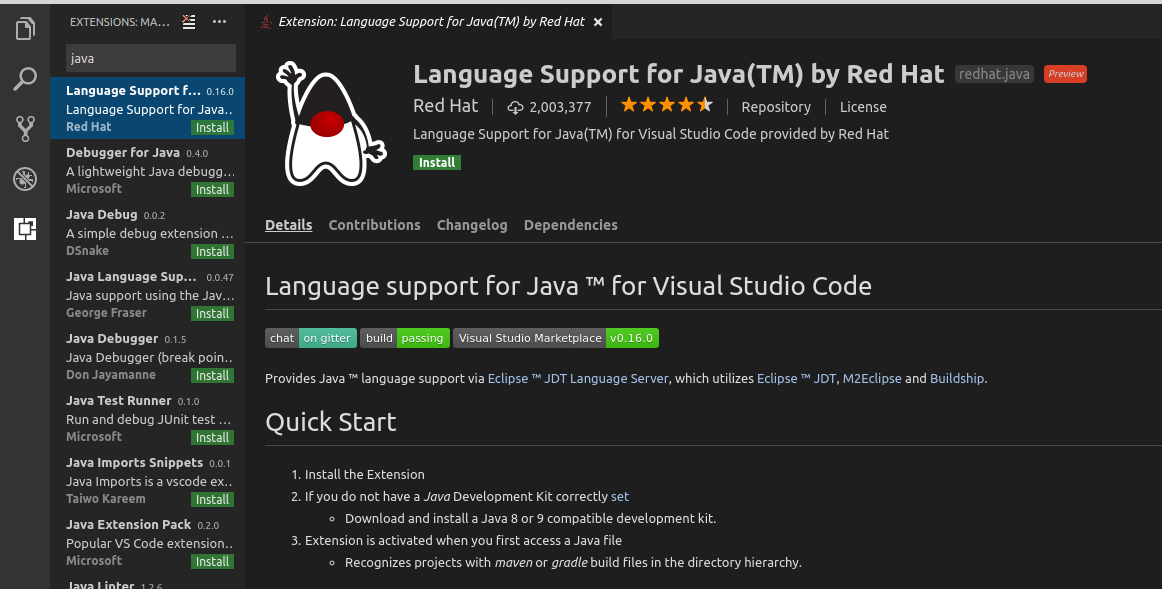
2. Install Java Extension
Open Visual Studio Code, go to Extensions (Ctrl+Shift+x), and type in “java” in the search box. Find the Java extension by Red Hat (should be first one in results) and click on install. After installation is complete, reload Visual Studio Code to reflect changes.

3. Open Project
In Visual Studio Code, go to File -> Open Folder, select the root level directory where you’ve unziped the Spring Initializer project, and click on “Open”.

4. Run
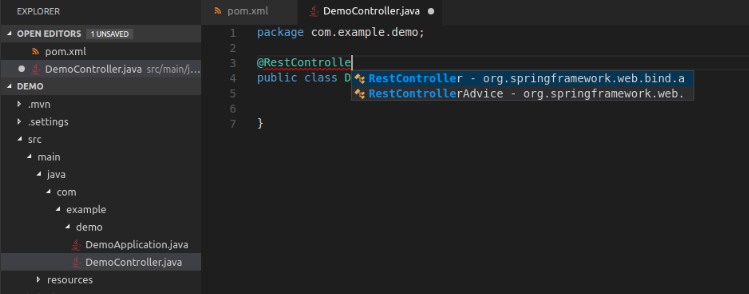
Assumming that all of the requirements listed were met, you should now have a super lightweight IDE, with autocomplete and everything.
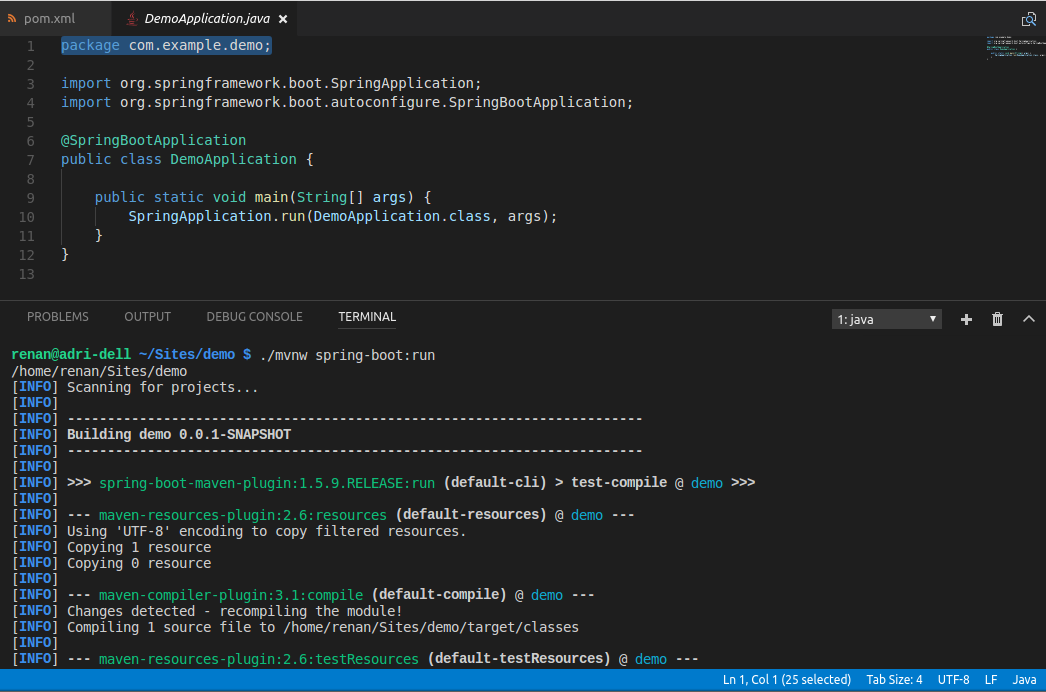
 In Visual Studio Code, go to View -> Integrated Terminal to open a terminal in the editor. This should automatically open within the project’s directory. Since Spring Boot is nice enough to include an embedded version of Maven, we can run the project by simply executing:
./mvnw spring-boot:run
 The video below is not specific to Spring Boot, but provides a basic introduction into utilizing Visual Studio Code for Java development.

